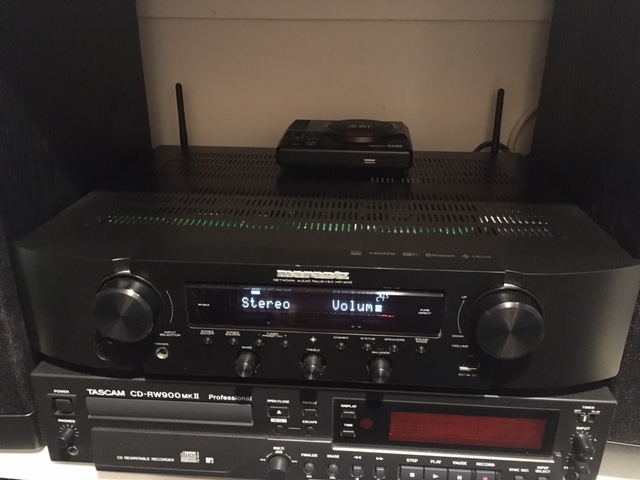
You can have an inexpensive media streaming device connected to your TV or HiFi by using an inexpensive Raspberry Pi and an SD card.

If you visit Volumio.org, you can download an image for a Raspberry Pi, PC or ASUS Tinkerboard. Once you have the image downloaded, attach a micro SD card to your computer and use Balena Etcher to write the image to it. If you need a quick tutorial on how to image an SD using Etcher, here’s a video that images the Raspberry Pi OS to SD. You would be imaging Volumio instead…
Once your SD image is complete, you will want to put the SD into your Pi. A Raspberry Pi 2, 3 or 4 should be sufficient, though a 3B is probably the lowest I would go because the Pi 2 would be quite slow. The Pi 3B has an advantage over the Pi 4B because it runs much cooler.
Then attach an ethernet cable to the Pi – because wifi will not be setup. This is the lamest part of the project but bear with me. Power up the Pi and let it run a boot cycle. You can setup your Volumio now by either downloading the Volumio app in the Google Play Store or the Apple App Store, or by typing volumio.local in your browser. Because the browser method isn’t reliable initially, I would use the app if possible.
After you launch the app on your phone/tablet, the app will search for any installations of Volumio. Make sure you are on the same network between the Pi and the phone. Once the app finds it, you will be instructed to give your setup a name and configure wifi settings. To setup your plugins, click on the setup icon in the bottom right corner. There are several plugins that allow your Volumio setup to connect to Spotify, Pandora, a Subsonic server etc. After you add and enable the plugins, you will need to go to the “installed plugins” tab to configure them with your username/password.
There are many other nice features, like the ability to make this setup a DLNA server. When everything is done and setup to your taste, you can go back into the menu, shut down the Pi and unplug the ethernet cable.

You can plug an HDMI cable into the Pi and run it into your TV or Stereo now and turn them both on. Once your Pi boots you will hear a chime through the TV/Stereo and that tells you it’s ready. You can now use your app to control Volumio to play internet radio, Spotify, etc.
You can also add music to Volumio. If you put mp3s or FLAC files on a thumb drive, plug it in before boot and the system will index the files so that you can play them. If you are technologically inclined, you can find your IP address by going into Volumio’s network settings. Then use that address, followed by /dev (example: 10.0.0.100/dev). From there, you can enable SSH, then use Filezilla or similar SFTP/FTP program to add music and video files to the /mnt/INTERNAL directory.
Volumio allows you to create an account. Though the setup is free, there is a paid tier that allows other features like the ability to use HiRes streaming services Tidal and Qobuz among other features like connecting a CDROM to rip CDs. At one time, I did subscribe to this a few years ago, but found that the free features like internet radio, local media and my own Subsonic server were enough. So for now I’m happy to use the free version. If you end up setting this up, I hope you enjoy it! I work from home and believe me, it’s nice.